User guide
Super XML for WooCommerce
Installation & Usage
Step-by-step instructions for installing the free plugin first, optionally adding the Pro add-on, activating your license (when you use Pro), enabling marketplace feeds, scheduling generation, and building Manual XML templates.
1. Installation
- Download the Free ZIP (
superxml-product-feed-for-woocommerce.zip) from our Download plugin page or install from WordPress.org. - Upload Free in WordPress: go to Plugins → Add New → Upload Plugin, choose the Free ZIP, then Install Now and Activate.
- Optional — Pro add-on: if you use SuperXML Pro, download
superxml-product-feed-pro.zipfrom the same Download page and upload it via Plugins → Add New → Upload Plugin. Activate Pro only after Free is active. - Folder structure (Free): after extraction you should have
wp-content/plugins/superxml-product-feed-for-woocommerce/superxml-product-feed-for-woocommerce.php. Pro adds…/superxml-product-feed-pro/superxml-product-feed-pro.php. Do not nest ZIPs incorrectly. - Requirements: PHP 8.0+, WooCommerce active, and a supported WordPress version (see the Download page). The plugin does not add custom tables; it uses WordPress options and writes feed files under uploads.
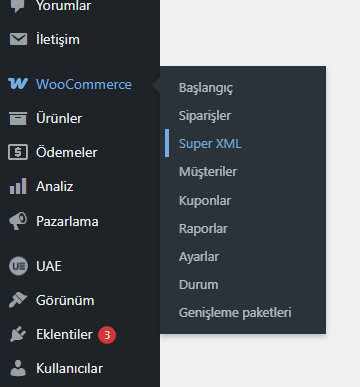
2. Open SuperXML Feed settings
In the WordPress admin, open WooCommerce → SuperXML Feed. You need the manage_woocommerce capability (usually Administrator or Shop Manager, depending on your roles).
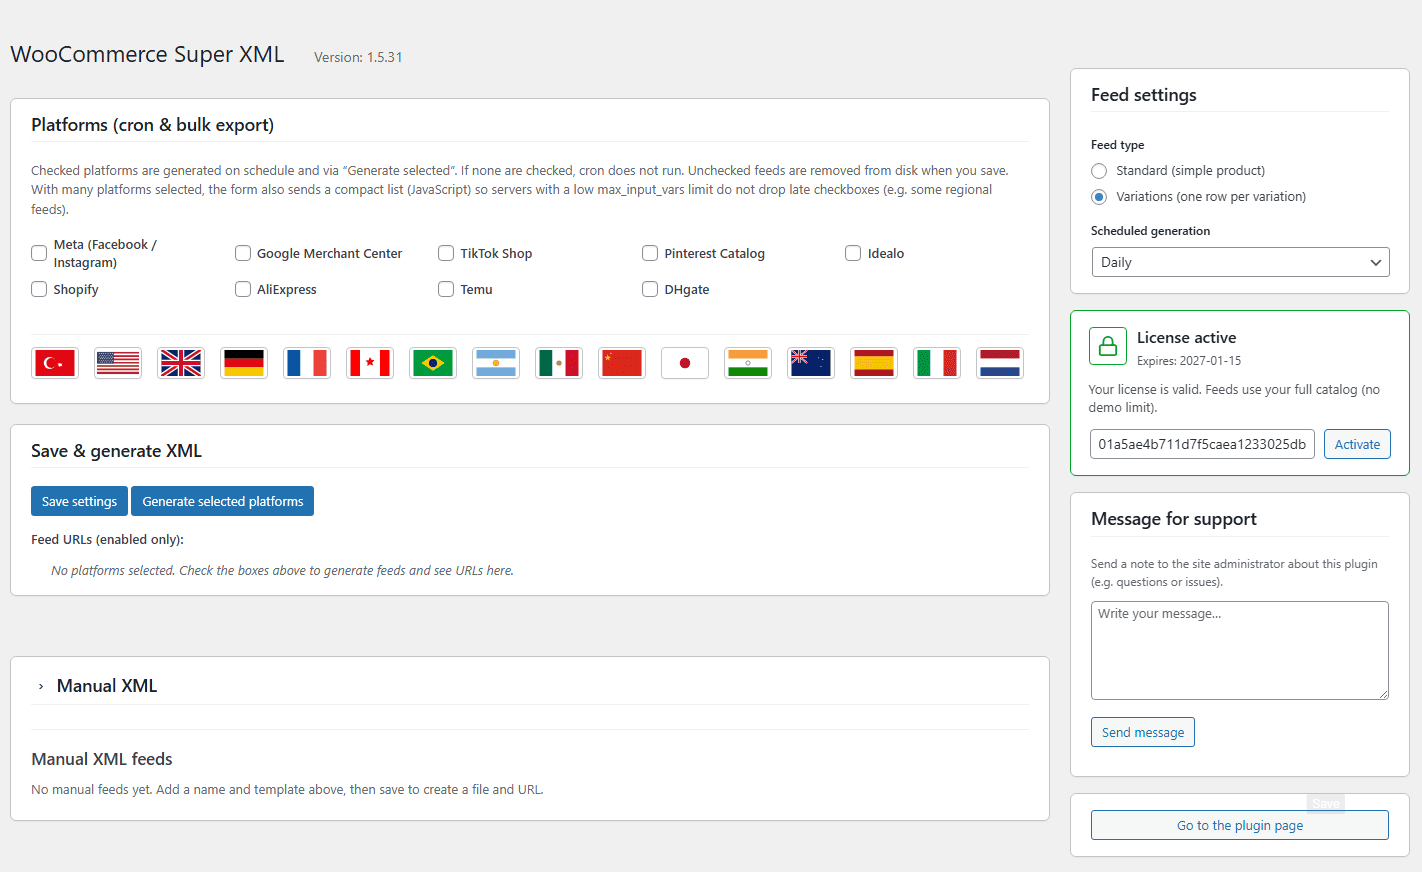
The screen has a main column (platforms, manual XML, actions) and a right sidebar (feed type, cron, license, support). Notices after save appear in the sidebar so they do not push the page title around.
3. License & Free vs Pro
3.1 How licensing works
- Free plugin only: No license panel in the sidebar. You still get full-catalog automated XML for enabled platforms (global channels plus the first two marketplaces per country panel). Remaining regional channels require SuperXML Product Feed Pro.
- Pro add-on: Adds the license sidebar, all regional checkboxes, variation feed mode, and Manual XML with live data. Pro must be installed after the Free plugin.
- The plugin calls your license server (default superxml.com) at
/validate.phpwith your store domain and license key when you activate a key (Pro). - Empty license key (Free only, or Pro without a key yet): platform feeds still run at full catalog size where enabled; Manual XML URLs output a short notice until you add a valid key in Pro.
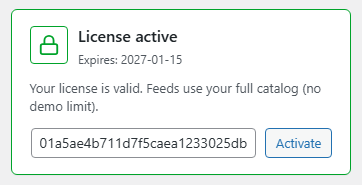
- Valid active license (with Pro): unlocks variation mode and Manual XML with real catalog data; expiry may be shown when returned by the server.
3.2 Activating a key
- Install and activate SuperXML Product Feed Pro. Open WooCommerce → SuperXML Feed — the license card appears in the sidebar.
- Expand Add License if the panel is collapsed, paste your key, and click Activate (or use the primary action that submits the form with verification).
- Ensure Site Address (URL) in Settings → General matches the domain you registered on the license portal (including
wwwvs bare domain). - Optional: advanced installs can set License API URL if you self-host the license server (must expose
validate.php).
4. Platforms & regional feeds
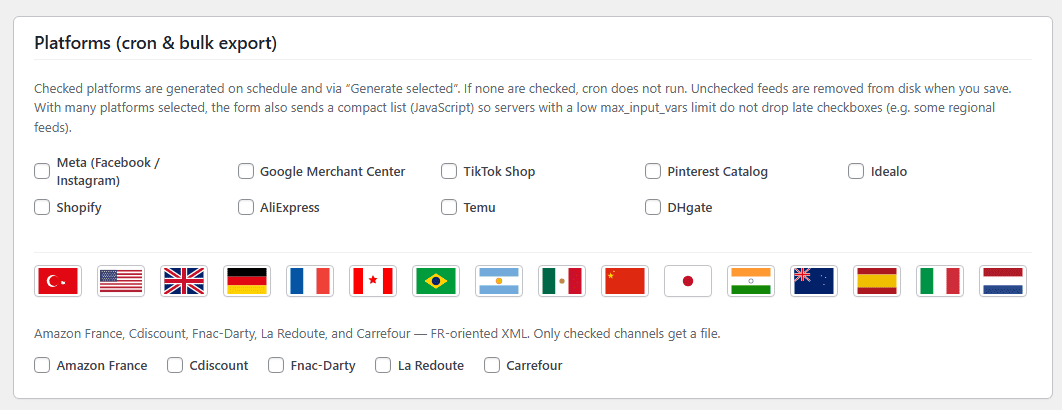
Under Platforms (cron & bulk export), tick every marketplace you want to maintain as a static XML file.
- Global row — channels like Meta, Google Merchant, TikTok, Pinterest, Idealo, Shopify, AliExpress, Temu, DHgate, etc.
- Country flags — click a flag to open that region’s panel (e.g. Turkey, US, UK, Germany, France, Canada, Brazil, and more). Only checked boxes in open panels count.
- Saving with nothing checked clears selections and removes generated files for disabled feeds on the next save (as described on screen).
5. Feed files & URLs
Each enabled platform gets a predictable file name (for example google.xml, meta.xml). Files are written under your WordPress uploads directory:
…/wp-content/uploads/sxpfw-feeds/
The settings page lists Feed URLs (enabled only) with an icon to open each URL in a new tab. Give these URLs to Google Merchant, Meta catalogs, or your middleware — they are ordinary HTTPS GET endpoints as long as your server allows public read access to uploaded files (default WordPress behaviour).
6. Feed type & scheduled generation
6.1 Feed type (sidebar)
- Standard (simple product) — one row per simple product; variable products typically use the parent or a single representative row depending on channel logic (best for catalog-style feeds).
- Variations (one row per variation) — expands variable products so each variation becomes its own line with its own SKU and price. Requires Pro and an active license.
Changing feed type applies the next time feeds are regenerated — use Save settings and/or Generate selected platforms.
6.2 Scheduled generation (cron)
Choose Hourly, Daily, or Weekly. WordPress cron drives regeneration; traffic to the site (or a real system cron hitting wp-cron.php) is required for reliable timing on low-traffic stores.
If no platform is checked, the scheduled feed job effectively has nothing to do — keep at least one channel enabled for cron output.
7. Save & generate
- Save settings — stores license key, API URL, selected platforms, feed mode, cron interval, and manual feeds. Triggers maintenance such as rescheduling cron and pruning disabled feed files.
- Generate selected platforms — runs an immediate export for all currently enabled platforms (shows a “working” overlay while processing large catalogs).
After changes, open a feed URL in the browser or validate with the channel’s debugger (e.g. Google Merchant feed preview) to confirm freshness.
8. Manual XML templates
Use Manual XML when you need a channel-specific fragment, RSS-style wrapper, or custom tags not covered by a built-in platform profile.
- Click the Manual XML header to expand the panel.
- Enter a Feed name (shown in the list below).
- Write your template in the textarea. For RSS / Meta-style feeds, wrap the repeating product block with
{{wsx:loop_start}}before the<item>…</item>section and{{wsx:loop_end}}after it. Keep<rss>,<channel>, title, and link outside the loop. - Use well-formed XML: e.g.
<g:title>{{wc:name}}</g:title>— not<g:title{{wc:name}}. - Click Save & generate XML. A file appears under
sxpfw-feeds/with a URL listed in Manual XML feeds. - Edit loads the template back; Regenerate rebuilds without editing; Delete removes the feed definition and file (confirmation required).
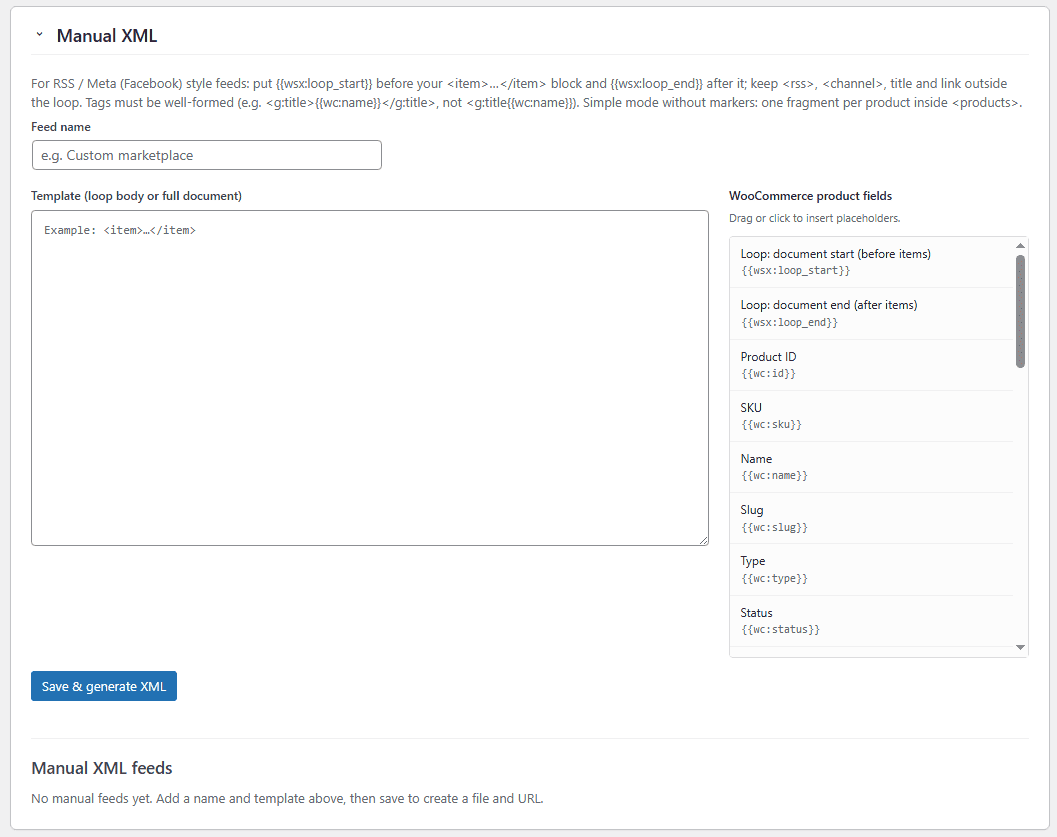
9. Placeholder tokens (palette)
The right column lists draggable chips. Common tokens:
| Token | Purpose |
|---|---|
| {{wsx:loop_start}} | Start of product loop |
| {{wsx:loop_end}} | End of product loop |
| {{wc:id}} | Product ID |
| {{wc:sku}} | SKU |
| {{wc:name}} | Name |
| {{wc:permalink}} | Product URL |
| {{wc:description}} | Full description |
| {{wc:short_description}} | Short description |
| {{wc:regular_price}} | Regular price |
| {{wc:sale_price}} | Sale price |
| {{wc:price}} | Active price |
| {{wc:stock_status}} | Stock status |
| {{wc:stock_quantity}} | Stock quantity |
| {{wc:weight}} | Weight |
| {{wc:length}} / {{wc:width}} / {{wc:height}} | Dimensions |
| {{wc:categories}} | Category names |
| {{wc:category_slugs}} | Category slugs |
| {{wc:tags}} | Tags |
| {{wc:image_url}} | Main image URL |
| {{wc:gallery_urls}} | Gallery URLs |
| {{wc:date_created}} | Created date |
| {{wc:date_modified}} | Modified date |
| {{wc:meta:your_meta_key}} | Custom product meta (replace your_meta_key) |
Drag a chip into the textarea or click to insert at the cursor — same behaviour as in wp-admin.
11. Tips & troubleshooting
- •Stale feeds: Run Generate selected platforms after bulk product imports; confirm cron is firing on production.
- •Channel rejections: Each built-in XML follows a generic schema — you may still need category IDs, GTIN, or shipping templates required by the marketplace UI.
- •Caching: Purge page cache and CDN cache for
/wp-content/uploads/sxpfw-feeds/after regenerating. - •Memory & timeouts: Very large catalogs may need higher PHP
memory_limitandmax_execution_timefor one-off generation. - •License errors: Read the message in the license panel; “server misconfigured” often means the license server’s secret key or domain hash setup — see server docs or support.